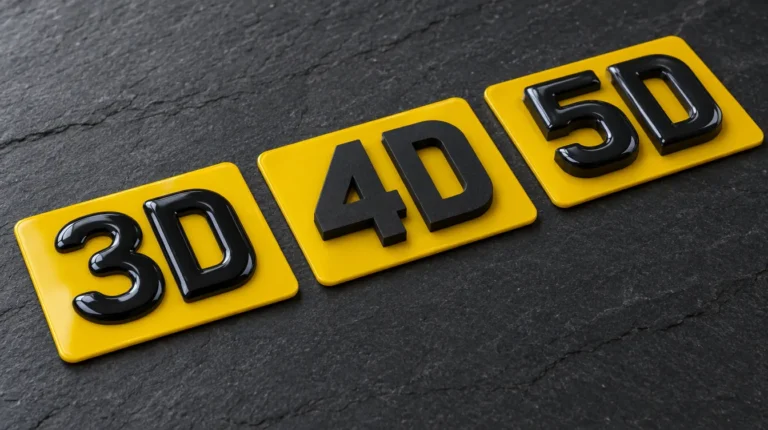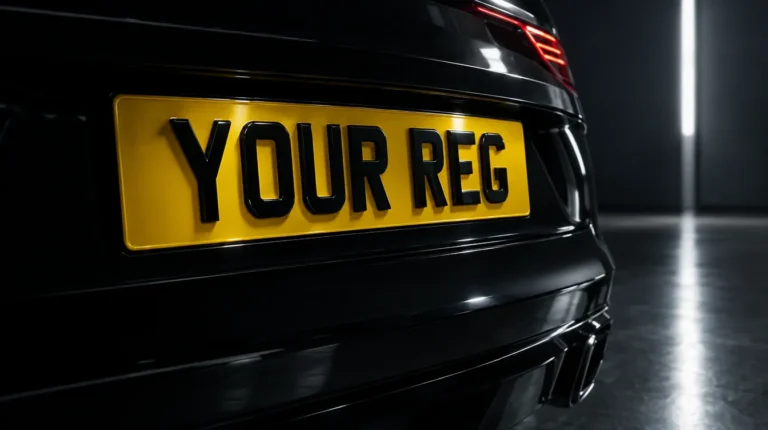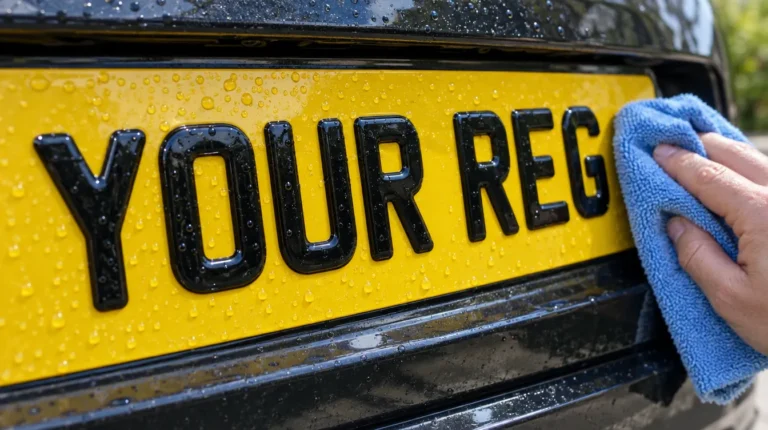
A 4D plate looks simple – black characters standing proud of a white or yellow plate – but getting it right means combining a certified reflective plate, accurately cut acrylic characters and an adhesive that survives years of rain, frost and car washes. Here’s how a road-legal 4D plate comes together.
In this guide
Step 1: Checking the order
Before anything is cut, a registered supplier checks the customer’s ID and entitlement to the registration, as the law requires. For road-legal plates nothing happens until that check is done. Read documents needed for number plates.
Step 2: The plate blank
Every road-legal plate starts as a BS AU 145e-approved blank: a clear acrylic face with retro-reflective white or yellow sheeting behind it. The reflective layer is what makes your plate glow in headlights and lets ANPR cameras read it.
The blank is cut to the right size – a standard 520 × 111mm car plate, a 4×4 square, a motorcycle plate or a custom “cut to fit” size. See number plate sizes.
Step 3: Printing the legal details
The supplier’s name and postcode and the BS AU 145e mark are printed along the bottom edge. Badges, flags and green flashes are printed at this stage too.
Step 4: Laser-cutting the characters
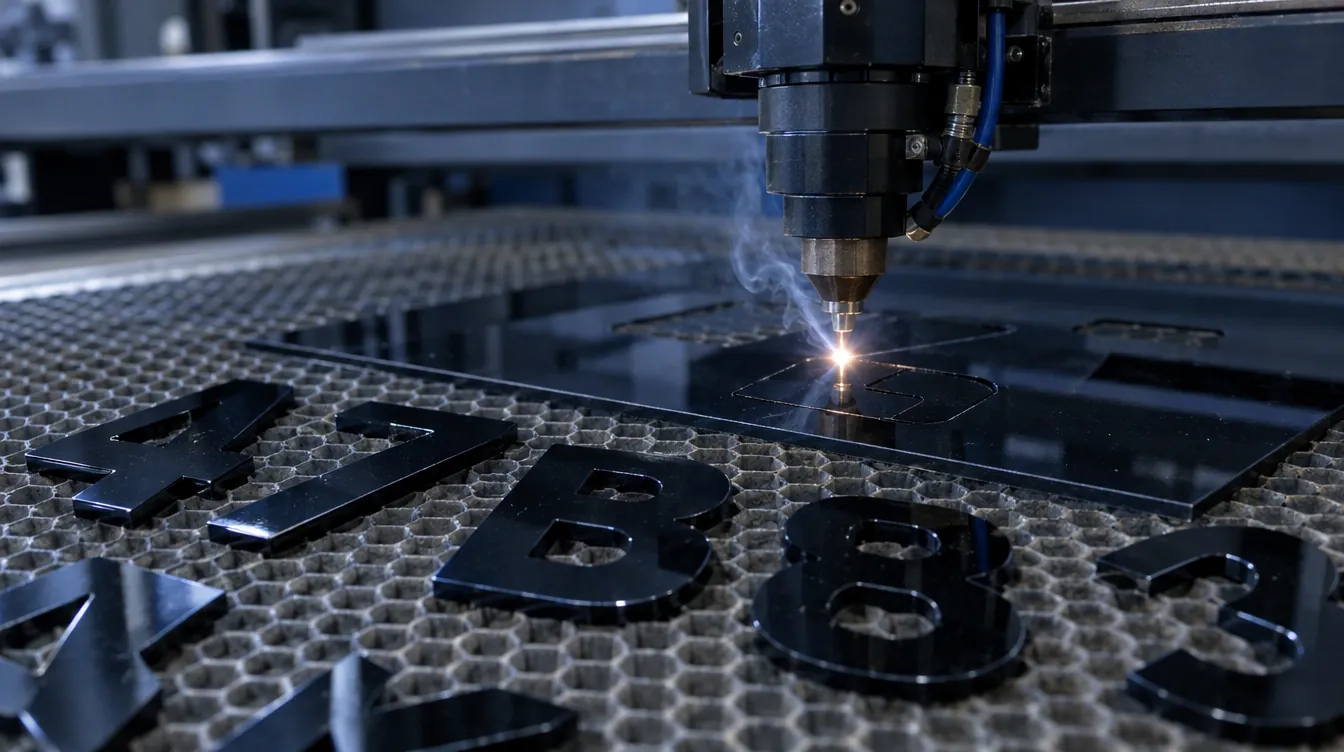
The registration is set in the Charles Wright 2001 font at exactly 79mm high (64mm on motorcycles) and sent to a CO2 laser cutter. The laser cuts the characters from black acrylic sheet – 3mm or 5mm thick – leaving clean, polished edges with no burrs.
Step 5: Positioning with a jig
Spacing is a legal requirement, so characters are laid out using a jig or template that fixes the 11mm gaps between characters and the 33mm gap between groups. It’s the step that separates a legal plate from an illegal one. See spacing rules.
Step 6: Bonding
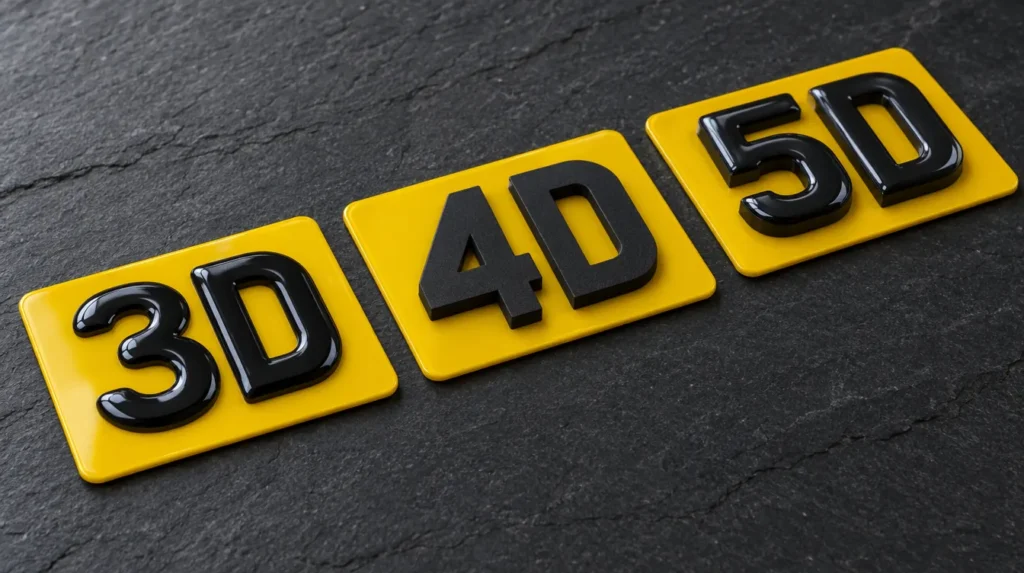
Each character is bonded with a high-strength, weatherproof adhesive designed for outdoor acrylic, then pressed and left to cure. For 5D plates, a clear gel dome is then poured over each character and cured.
Step 7: Quality checks
A finished plate is checked for:
- correct registration and spacing against the order
- characters level and fully bonded
- no bubbles, dust or scratches
- legal markings present and readable
Step 8: Packing and delivery
Plates are packed flat with protective film and card stiffeners so they arrive scratch-free, along with fixing pads. Then you just need to fit them – see how to fit number plates.
See your 4D plates before they’re made
Our builder draws your plate to scale with the exact character depth and spacing.
Frequently asked questions
What is 4D acrylic made of?
Cast or extruded acrylic (PMMA) – the same tough plastic used for signs and displays – in black, cut into characters by laser.
How long do 4D plates last?
A well-made 4D plate should look good for years. Regular gentle cleaning keeps the edges crisp.
Can 4D characters be replaced if one is damaged?
It’s usually quicker and more reliable to replace the plate – a new plate keeps the legal markings and bonding consistent.
Why are 5mm plates more expensive than 3mm?
Thicker acrylic costs more, takes longer to cut and needs more care to bond evenly.