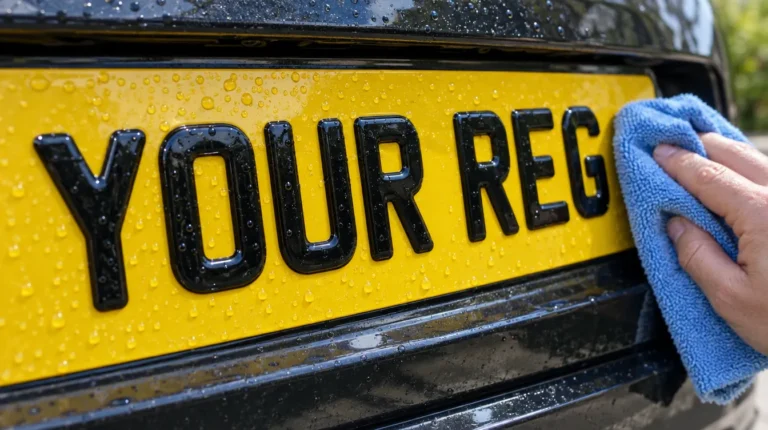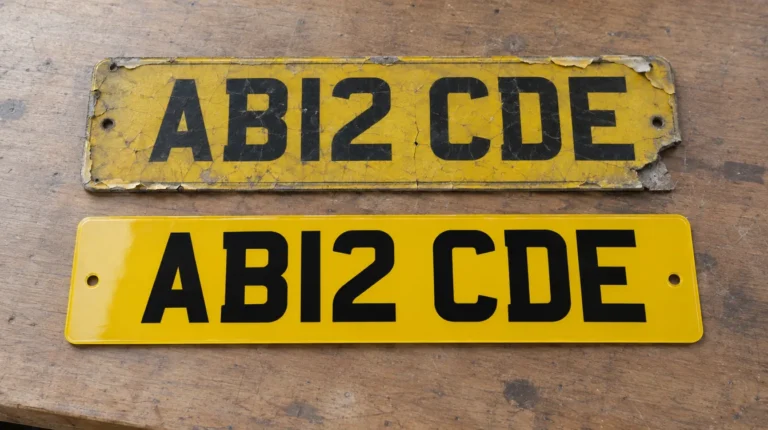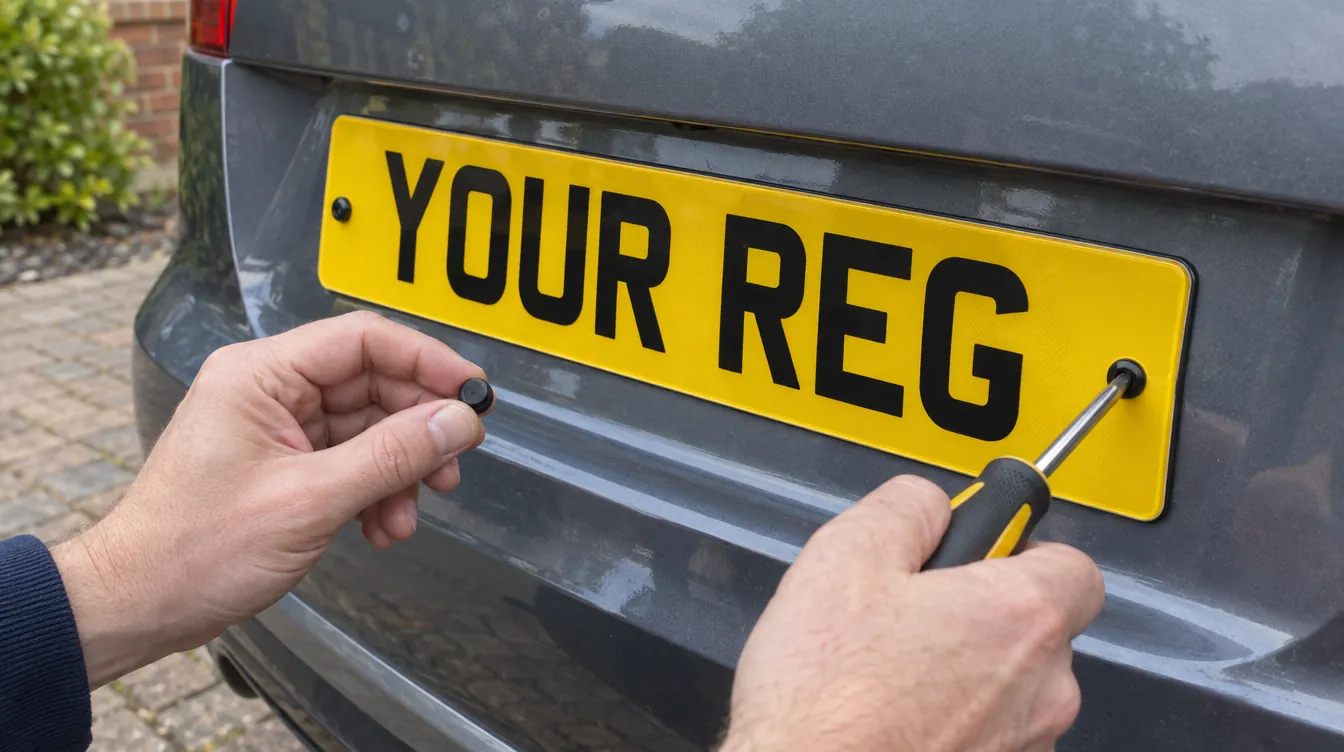
Fitting new plates is a 15-minute job with basic tools. You’ve got three main options – sticky pads, screws or a holder – and the right one depends on your car and your plates. Here’s how to do each properly.
In this guide
What you’ll need
- Your new plates
- A plastic trim tool or old bank card
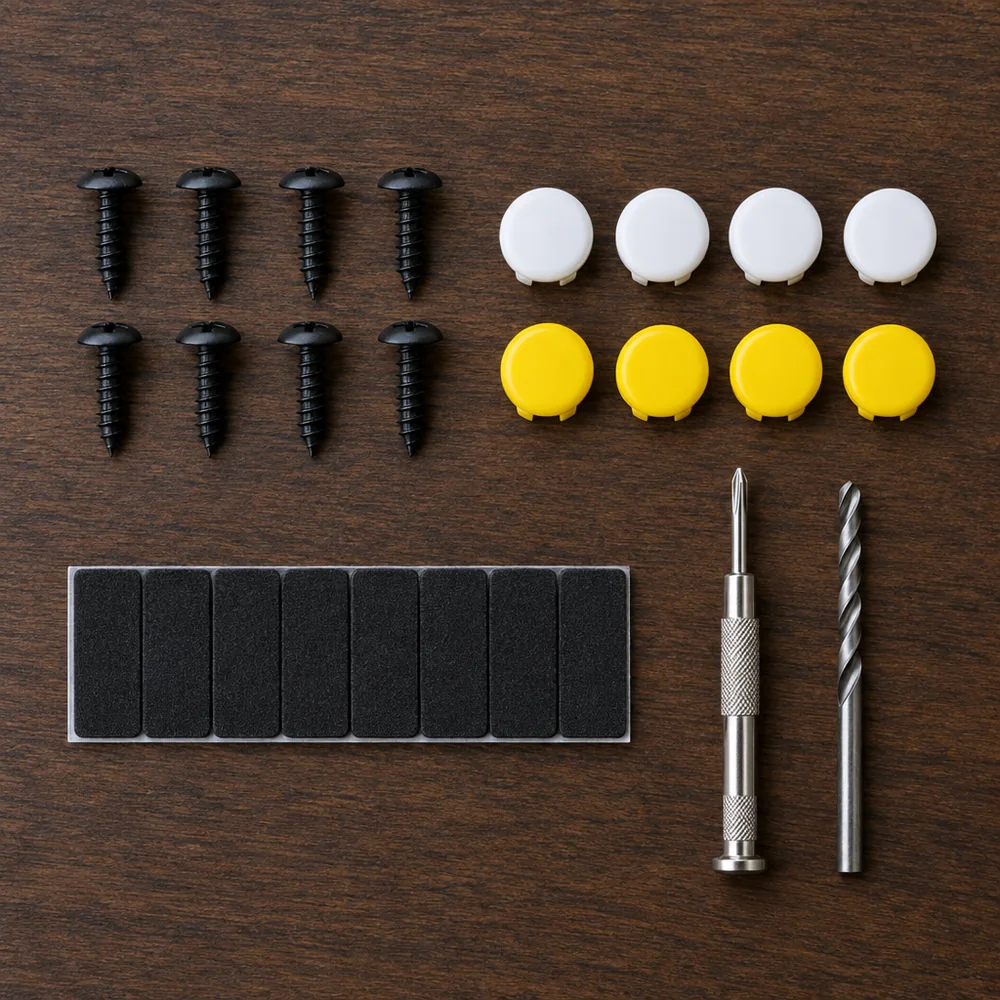
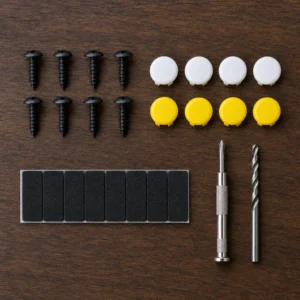
- Sticky pads and/or screws with caps (our fitting kit has both)
- A cross-head screwdriver and a drill with a 3–4mm bit (screw fitting only)
- Isopropyl alcohol or glass cleaner and a cloth
Step 1: Remove the old plates
- If the plates are screwed on, undo the screws and lift the plate off.
- If they’re stuck on, slide a plastic trim tool or card behind one corner and work along the plate slowly. Warming the plate with a hairdryer softens the adhesive.
- Peel or roll off any leftover adhesive, then clean the surface with alcohol so it’s free of grease and wax.
Don’t throw old plates away whole – see replacing damaged plates for safe disposal.
Option A: Sticky pads (no drilling)
Best for smooth, flat recesses and cars where you don’t want holes.
- Hold the new plate in place and check it’s centred and level.
- Apply pads across the back: one near each end, top and bottom, plus two or three along the middle.
- Peel the backing, line up carefully and press firmly for 30 seconds along the whole plate.
- Avoid washing the car for 24 hours while the adhesive cures.
Use plenty of pads – a plate stuck on with two pads will rattle loose and fail an MOT.
Option B: Screws and caps
Best for textured or curved recesses and older cars with existing holes.
- If your old holes line up, use them. If not, mark the new hole positions on the plate’s margin – never through a character.
- Drill slowly from the front with a sharp bit and no hammer action to avoid cracking the acrylic.
- Screw the plate on until snug – overtightening cracks plates.
- Snap white caps on the front and yellow caps on the rear.
Never place screws where they change how a character looks. A screw through the middle of a “0” or an “I” can make a plate illegal – see spacing rules.
Option C: A plate holder
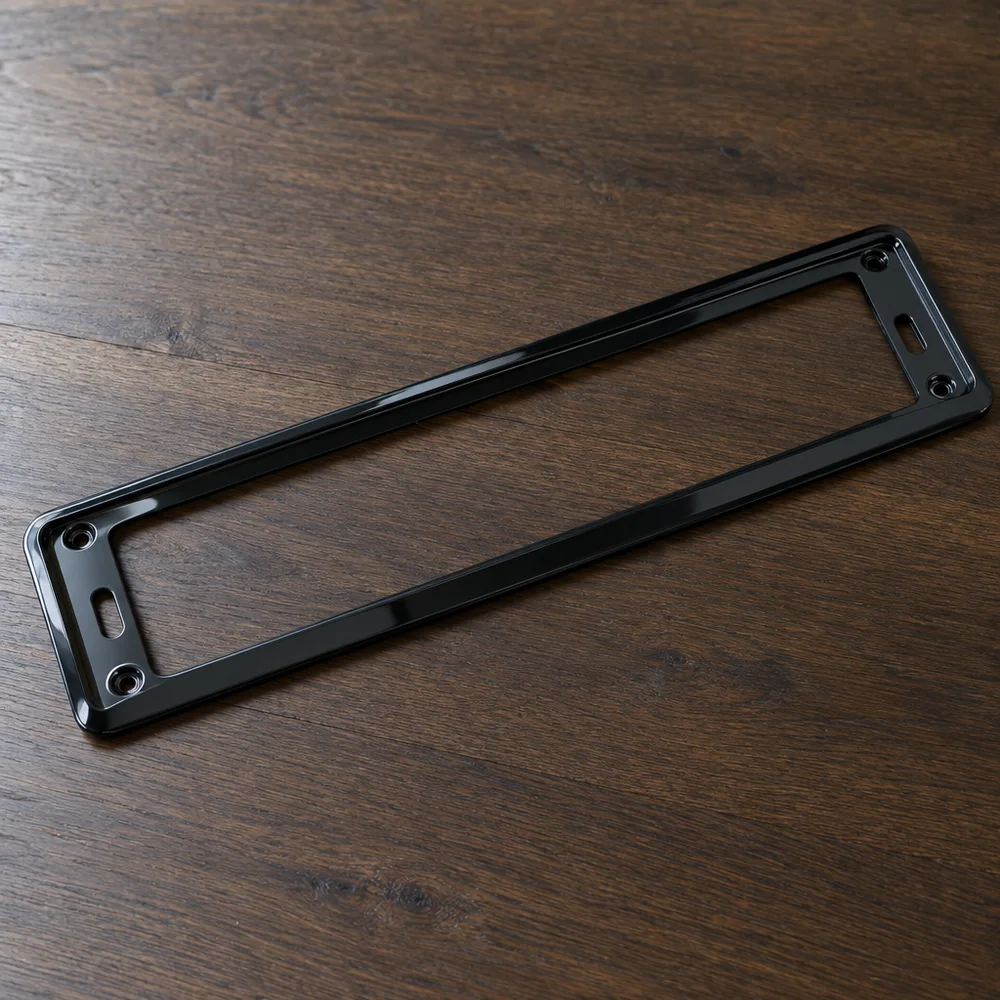
A holder (or surround) gives a clean OEM-style finish, hides old holes and makes swapping plates easy. Screw the holder to the car, then clip or slide the plate in. Check the holder doesn’t cover the supplier name, the BS AU 145e mark or any part of a character.
Fitting 4D and 5D plates
Raised characters need a little extra care:
- Press on the plate, not the characters, when sticking it down.
- Don’t use a cordless screwdriver on full torque near raised characters.
- Keep a little clearance in tight recesses so characters don’t rub.
After fitting: legal check
- Plate secure, level and not flexing
- Nothing covering characters or the legal markings
- Rear plate light works
- No tow bar or bike rack blocking the plate
Frequently asked questions
Are sticky pads strong enough for number plates?
Yes, when you use enough of them on a clean, dry surface. We include pads with every order.
Should I drill through 4D plates?
Only through the plate margin, well away from characters. Many people use sticky pads on 4D plates to keep the face clean.
Can I fit plates myself or do I need a garage?
You can fit them yourself – there’s no legal requirement for a garage to do it.
What colour screw caps should I use?
White on the front plate and yellow on the rear, so they blend into the plate.